|
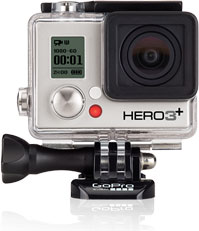
| GoPro Hero 3+ Silver edition |
If you haven't already heard yet, GoPro has launched their newest line of cameras - GoPro Hero 3+. The camera is 20% smaller than the previous model and has a 30% longer battery life which is something that will attract the LCD BacPac users like myself. The camera housing looks cleaner, sleeker and more minimalistic compared the previous model though I'm not sure if you will be able to attach the LCD BacPac or the Battery BacPac to the camera. GoPro has not yet released a newer version of either BacPacs.
 |
| GoPro Hero 3+ compared to its predecessor |
The Hero 3+ Black Edition features a 4X faster Wi-Fi for a faster playback of photos and the new ability to playback videos in your iOS or Android device using the GoPro App. The Black edition also introduces the "Superview" mode which "captures the world's most immersive wide angle perspective". Another new feature is the Auto Low Light mode which intelligently changes frame rate based on lighting conditions for enhanced low light performance.
The Hero 3+ Silver edition claims to be 2X more powerful than its predecessor. Although it does not have the Superview mode, it still has the Auto Low light mode for your nighttime shooting needs.
GoPro Hero 3 White edition does not have a successor in the Hero 3+ line and it only has a 15% smaller body than the last GoPro Hero 3 White. Personally, I think GoPro did not focus on the White edition as much as they should have and that it should have at least gotten the Auto Low light mode.
With the new camera model, GoPro has also released some new mounts and accessories and has updated some of the existing ones. Some of my personal favorites are -
 |
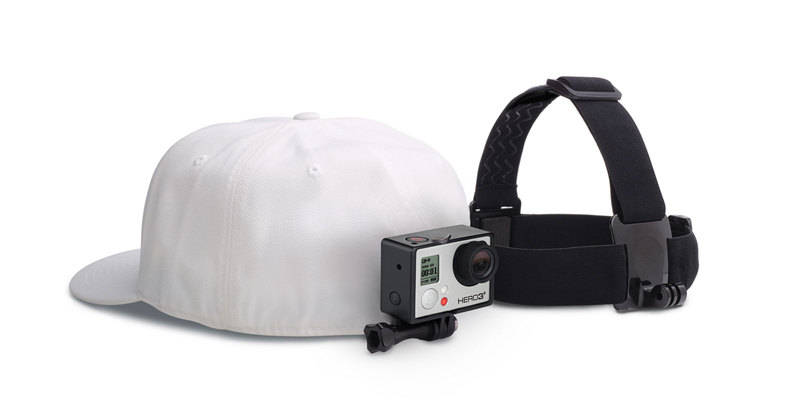
| Quick Clip attached to a baseball cap |
An improved Head Strap mount that comes with a "Quick Clip" that you can use to attack your GoPro camera to a backwards baseball cap. In my opinion, they should also make the Quick Clip available for sale separately for users who already own a Head Strap mount. The Quick Clip is definitely a very clever invention.
 |
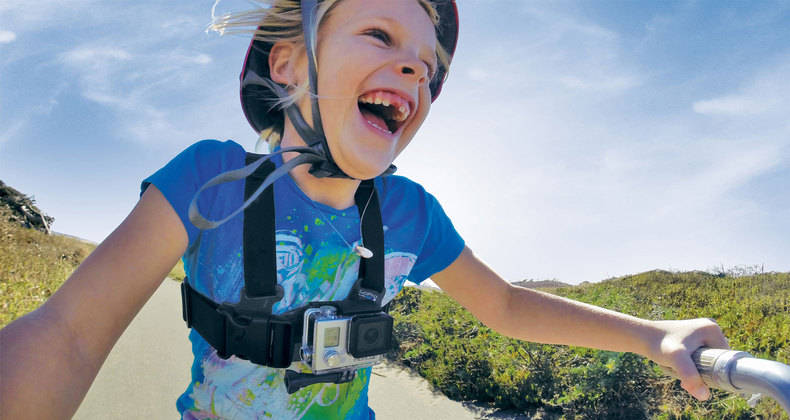
| Junior Chesty Harness |
A Junior Chesty Harness that is aimed towards kids of ages 3+. Personally, I don't see the need for it. I'm sure the original Chesty Harness can be adjusted to fit a child. If not, there are mods that can enable you to do so.
 |
| Jaws: Flex Clamp Mount |
My favorite out of the bunch - the "Jaws: Flex clamp" mount which opens doors to endless shooting angles. The Flex Clamp is probably the most versatile mount so far and a must have for anyone who is serious about their adventure. Some others include a tripod mount with a thicker base than its predecessor, a new Floaty backdoor, protective lens and covers and a new version of the suction cup mount.
In conclusion, GoPro's new Hero 3+ series has not only made the camera more compact and more wearable but has also improved upon some of its features and has introduces some new ones. The Emmy award winning camera continues to provide us with stunning video quality for our shooting needs.
All images have belong to and have been taken from GoPro.com